Cascade layers (the @layer CSS rule) are coming to Chromium 99, Firefox 97, and Safari 15.4 Beta. They enable more explicit control of your CSS files to prevent style-specificity conflicts. This is particularly useful for large codebases, design systems, and when managing third party styles in applications.
Layering your CSS in a clear way prevents unexpected style overrides and promotes better CSS architecture.
CSS specificity and the cascade
CSS specificity is how CSS decides which styles to apply to which elements. The different selectors you can use determine the specificity of any style rule. For example, elements are less specific than classes or attributes, which are in turn less specific than IDs. This is an elemental part of learning CSS.
Folks turn to CSS naming conventions like BEM to prevent overriding specificity unintentionally. By giving everything a single classname, everything is placed on the same specificity plane. However, it’s not always possible to maintain such organized styles, especially when working with third-party code and design systems.

Cascade layers aim to solve this problem. They introduce a new layer to the CSS cascade. With layered styles, the precedence of a layer always beats the specificity of a selector.
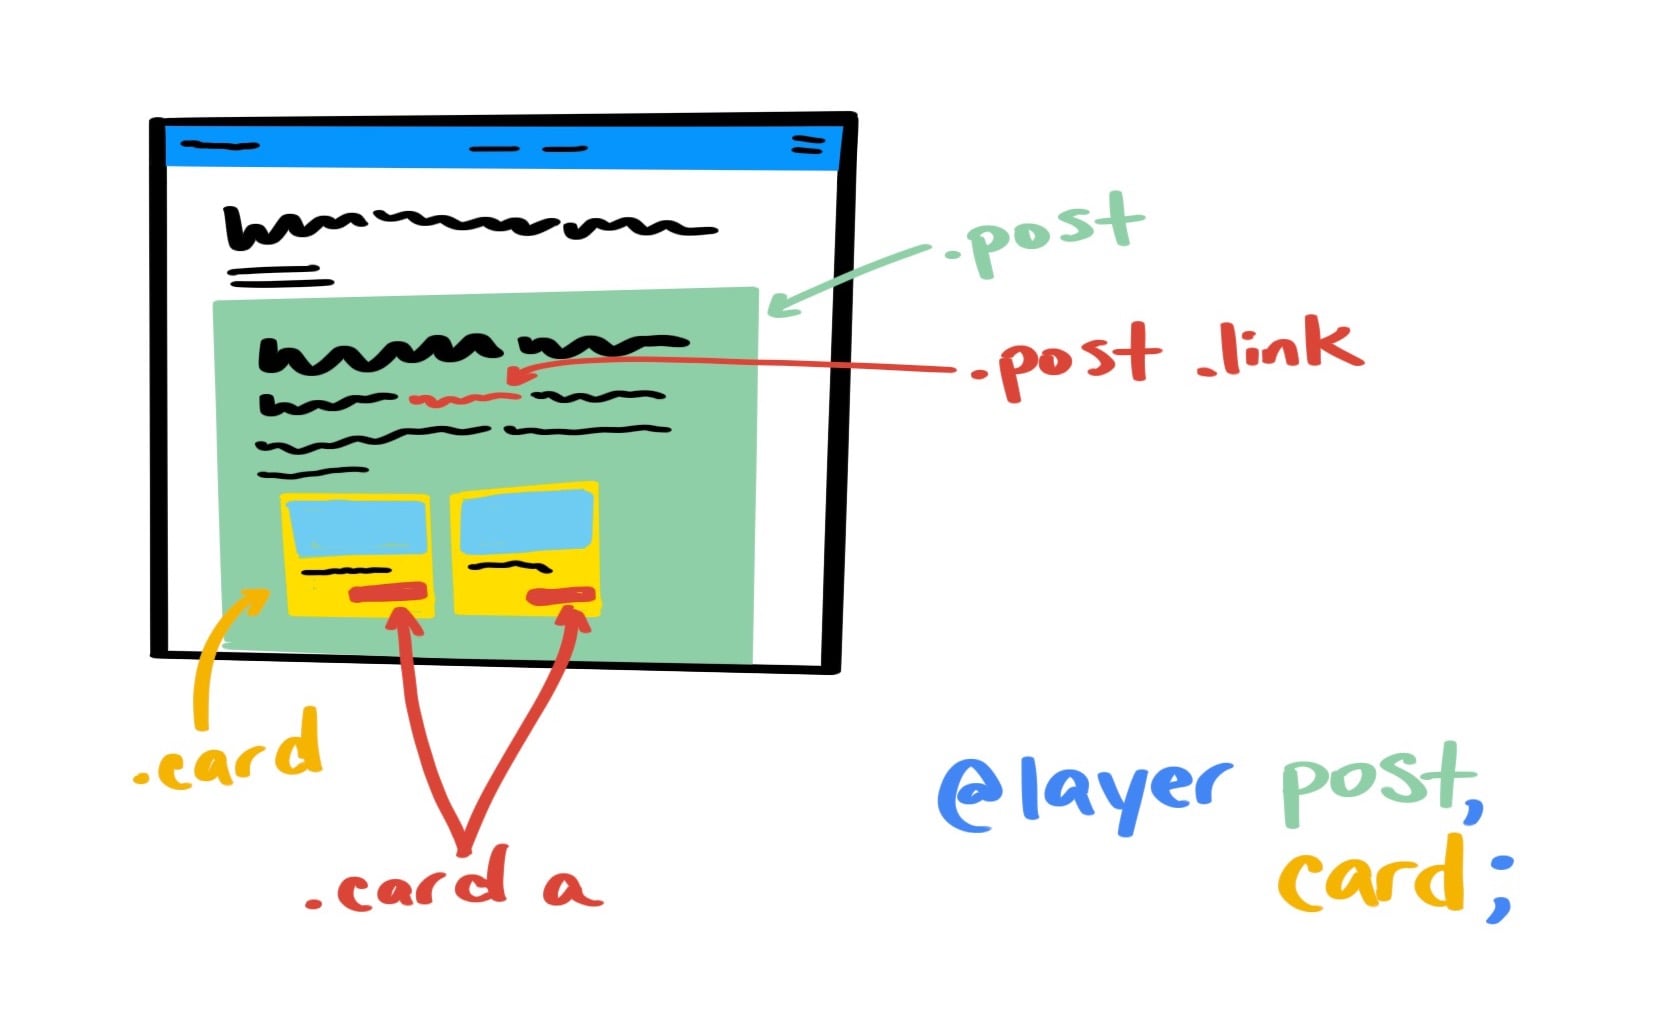
For example, the selector .post a.link has higher specificity than .card a. If trying to style a link, inside a card, within a post you will find that the more specific selector will be applied.
By using @layer, you can be more explicit about the style-specificity of each, and make sure that your card link’s styles override the post link’s styles, even though the specificity might numerically be lower if all your CSS was on the same plane. This is because of cascade precedence. Layered styles create new cascade "planes."

@layer in action

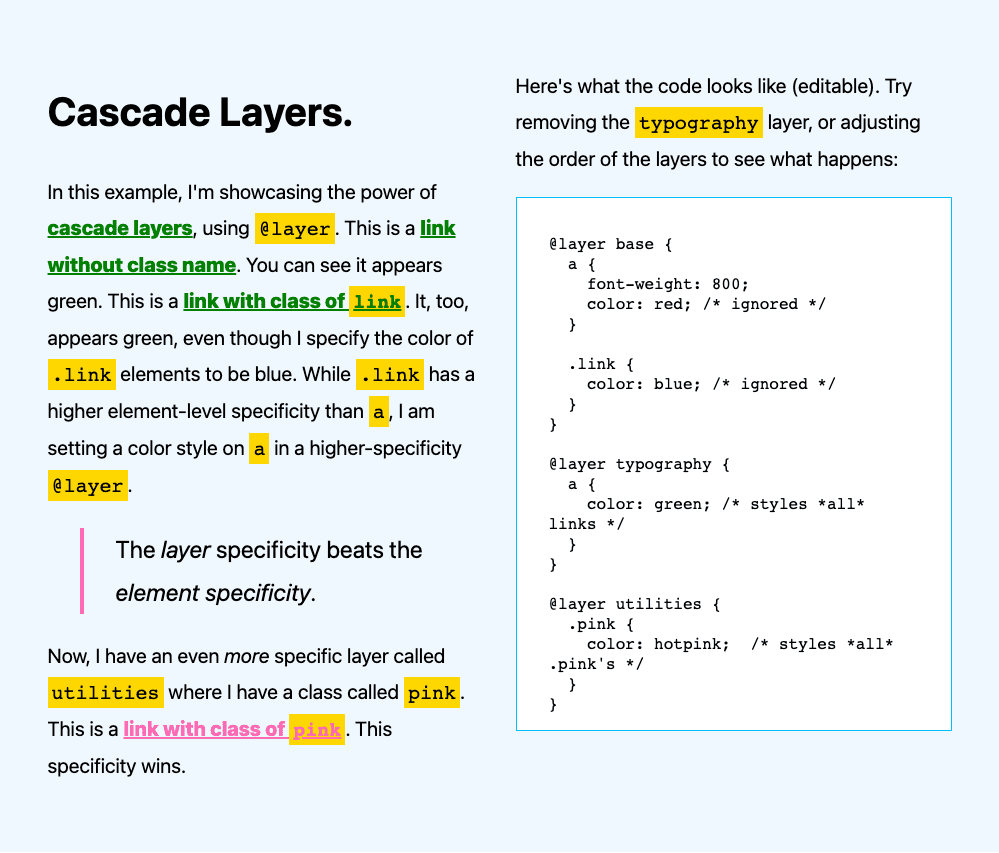
This example showcases the power of cascade layers, using @layer. There are several links shown: some without any additional class names applied, one with a .link class, and one with a .pink class. The CSS then adds three layers: base, typography, and utilities as follows:
@layer base {
  a {
    font-weight: 800;
    color: red; /* ignored */
  }

  .link {
    color: blue; /* ignored */
  }
}

@layer typography {
  a {
    color: green; /* styles *all* links */
  }
}

@layer utilities {
  .pink {
    color: hotpink;  /* styles *all* .pink's */
  }
}
Ultimately, all the links are either green or pink. This is because: while .link has a higher selector-level specificity than a, there is a color style on a in a higher-precedence @layer. a { color: green } overrides .link { color: blue } when the green rule is in a layer after the blue rule.
Layer precedence beats the element specificity.
Organizing layers
You can organize layers directly on the page, as shown above, or you can organize them at the top of a file.
Layer order is established by the first time each layer name appears in your code.
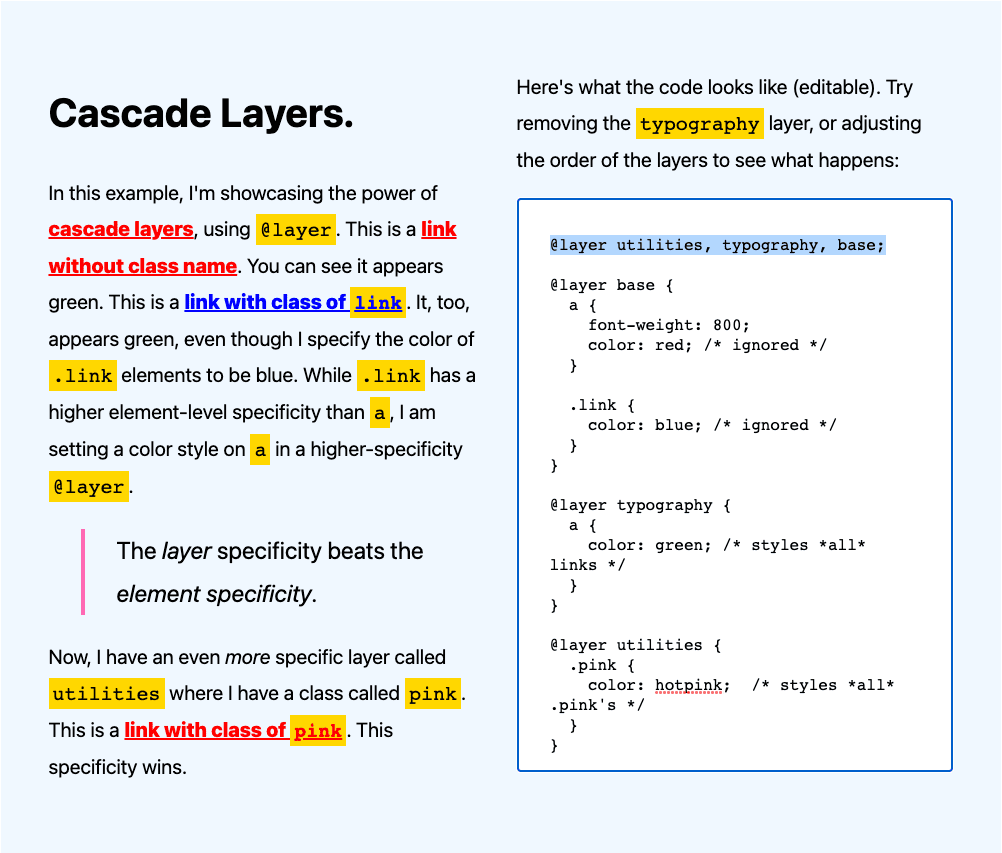
That means, if you add the following to the top of the file, the links would all appear red, and the link with class .link would appear blue:
@layer utilities, typography, base;
This is because the layer order is now reversed, putting utilities first and base last. Hence, the style rules in the base layer will always have a higher specificity than the style rules in the typography layer. They are no longer going to be green links, but instead red or blue.

Organizing imports
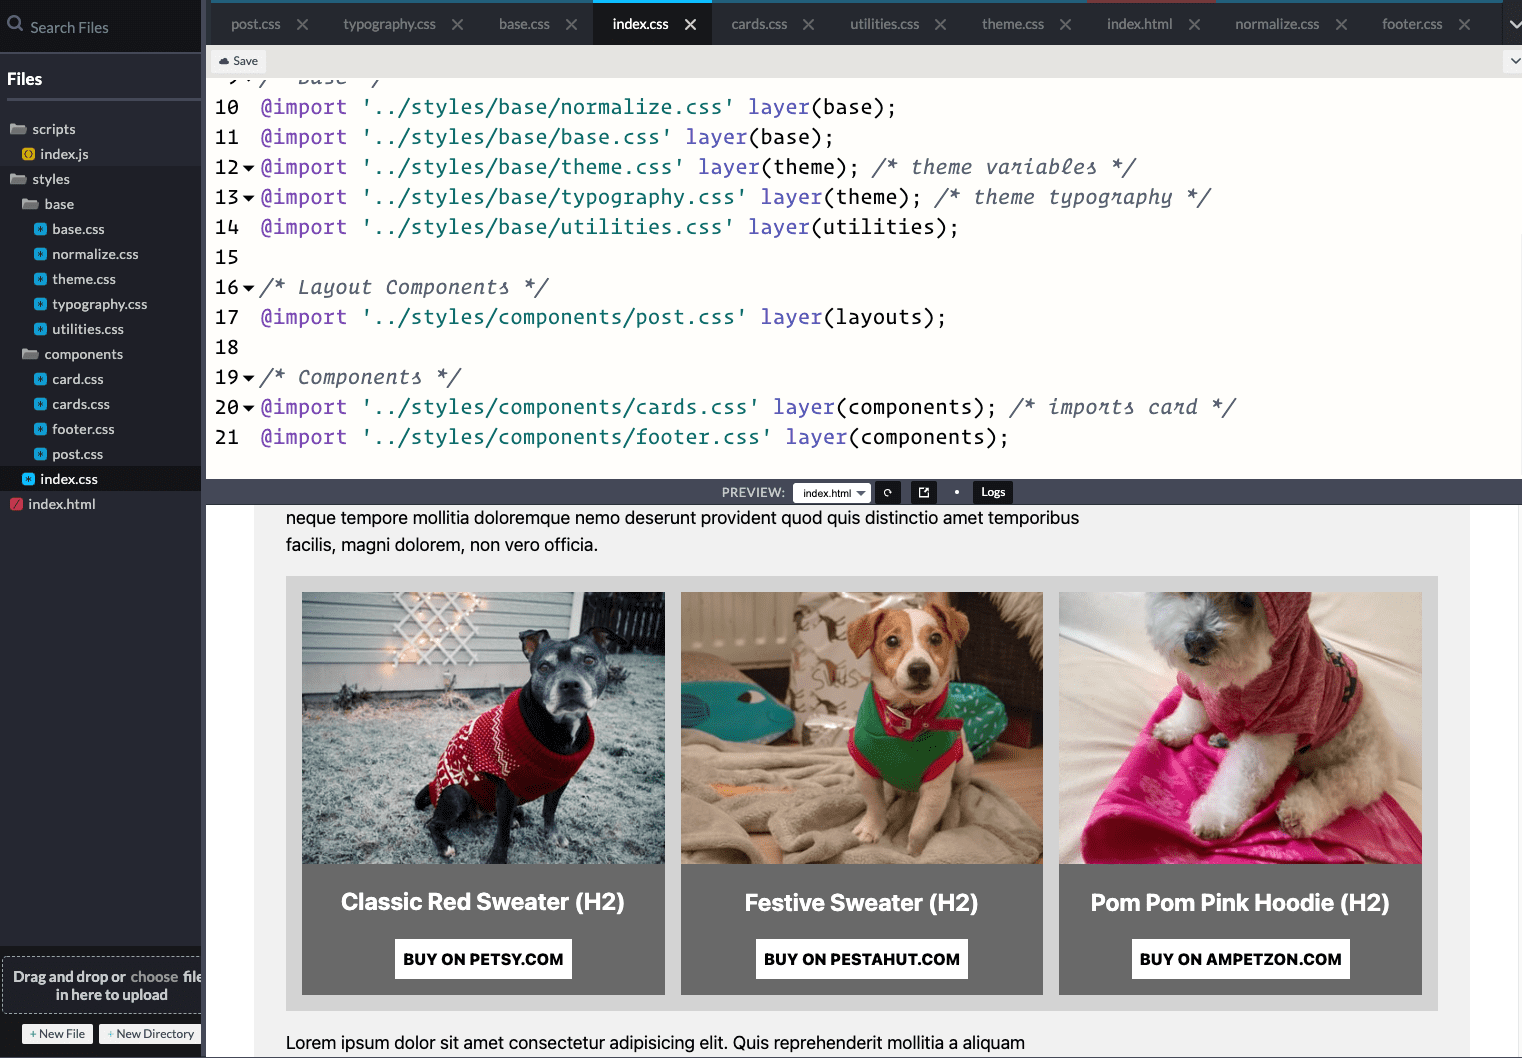
Another way to use @layer is with import files. You can do this directly when you import styles, using a layer() function as in the following example.:
/* Base */
@import '../styles/base/normalize.css' layer(base); /* normalize or rest file */
@import '../styles/base/base.css' layer(base); /* body and base styles */
@import '../styles/base/theme.css' layer(theme); /* theme variables */
@import '../styles/base/typography.css' layer(theme); /* theme typography */
@import '../styles/base/utilities.css' layer(utilities); /* base utilities */

/* Layouts */
@import '../styles/components/post.css' layer(layouts); /* post layout */

/* Components */
@import '../styles/components/cards.css' layer(components); /* imports card */
@import '../styles/components/footer.css' layer(components); /* footer component */
The above code snippet has three layers: base,layouts, and components. The normalize, theme, and typography files in base, with a post file in layouts, and cards and footer both in components. On import of the file, the layers are instantiated using the layer function. An alternative approach would be to organize your layers at the top of the file, declaring them before any imports:
@layer base,
       theme,
       layouts,
       components,
       utilities;
Now, the order in which you @import your styles won’t matter to the layer order, since it’s already established at the first instance of the layer name. That's one less thing to worry about. You can still set imported files to specific layers, but the ordering is already established.

Layers and the cascade
Let’s take a step back and see where layers are used as it relates to the wider cascade:

The order of precedence is such:
- User Agent normal (lowest precedence)
- Local User @layer
- Local User normal
- Author @layers
- Author normal
- Author !important
- Author @layer !important
- Local User !important
- User Agent !important** (highest precedence)
You may notice here that @layer !important styles are inverted. Instead of being less specific than non-layered (normal) styles, they have higher precedence. This is because of how !important works in the cascade: it breaks the normal cascading in your stylesheets and reverses the normal layer-level specificity (precedence).
Nested layers
Layers can also be nested within other layers. The following example comes from the Cascade Layers explainer from Miriam Suzanne:
@layer default {
  p { max-width: 70ch; }
}

@layer framework {
  @layer default {
    p { margin-block: 0.75em; }
  }

  p { margin-bottom: 1em; }
}
In the above code snippet, you can access framework.default, using a . as a signifier of the default layer being nested within framework. You can also write this in a more shorthand format:
@layer framework.default {
  p { margin-block: 0.75em }
}
The resulting layers and layer-order are:
- default
framework.defaultframeworkunlayered- unlayered
Things to look out for
Cascade layers can be great if you use them correctly, but they can also create additional confusion and unexpected results. Look out for the following when working with cascade layers:
Rule 1: Don’t use @layer for scoping
Cascade layers do not solve scoping. If you have a CSS file with an @layer, say card.css and want to style all of the links within card, do not write styles like:
a {
  …
}
This will lead to all of the a tags in your file getting this override. It’s still important to scope your styles properly:
.card a {
  …
}
Rule 2: cascade layers are ordered behind non-layered CSS
It’s important to note that a layered CSS file will not override non-layered CSS. This was an intentional decision to make it easier to introduce layers in a more sensible way to work with your existing codebase. Using a reset.css file, for example, is a good starting point and use case for cascade layers.
Rule 3: !important inverts cascade specificity
While layered styles are less specific than unlayered styles in general, using !important reverses this. In a layer, declarations with the !important rule are more specific than unlayered styles.
In that case, the !important styles invert their specificity. The diagram above shows this for reference: author @layers have less precedence than author normal which have less precedence than author !important which have less precedence than author @layer !important.
If you have multiple layers, the first layer with !important would take the !important precedence and be the most specific style.
Rule 4: Understand injection points
Since layer order is established by the first time each layer name appears in your code, if you put an @layer declaration after importing and setting layer()’s, or after a different @layer statement, it can be ignored. Unlike in CSS, where the style rule furthest down on the page is applied for cascade layers, order is established at first instance.
This can be in a list, in a layer block, or in an import. If you put @layer after an import list with layer(), it won’t do anything. Putting it at the top of the file will make it set the layer order, and help you clearly see the layers within the architecture.
Rule #5: Watch your specificity
With cascade layers, a less-specific selector (like a) will override a more-specific selector (like .link) if that less-specific selector is on a more specific layer. Consider the following:
a in layer(components) would override .pink in layer(utilities) if: @layer utilities, components was specified. While an intentional part of the API, this could be confusing and frustrating if you’re not expecting it.
So if you’re writing utility classes, always include them as a higher-order layer than the components you intend to override them with. You might think “I just added this .pink class to change the color and it's not being applied”.
Learn more about cascade layers
You can also check out these resources to learn more about cascade layers:

